Local search algorithms continually update. With the latest release of Google’s Pigeon, 2015 promises to be a year where local search will prevail. A key to ensuring your business is positioned for maximum exposure on the local search network is to ensure that you have a Google+ listing. Remember this is Google’s platform. Where else would Google naturally want to gather its information for search results other than on its own platform?
In our experience, Google+ can be a challenge for business owners. Setting it up correctly is paramount to its success. We have detailed a step-by-step process below to help you get up and running correctly. Most business owners are already familiar with Facebook and the way it is set up. You have your profile, and then your business page underneath your profile. Google is the same way.
You’ll want to create a PERSONAL profile first on Google if you don’t already have one. Generally speaking, if there is not one already set up, a personal profile for the owner of the company needs to be created. Don’t worry, you don’t have to use it for anything if you don’t want to, but you DO have to have one. Whatever you do, do not create the profile as the business here. This will surely get your account deleted (violation of Google’s TOS) right about the time you start getting some traction and think everything is going great. Never fails.
After you create or log in to your PERSONAL Profile, follow these steps to create your business page:
- On the left of the screen after you log in to your Google+ Personal profile (I can’t say this enough), there is a pull down that says “Home”. Hover over that and then select “Pages”.
- There will be a button on the screen (to the right as of this writing) that says “Add Page”. Click on that button.
- You will then be prompted with a new window like this:
If you are a business with more than 10 locations, time to move to the Google My Business Locations. We’ll cover that in a later post.
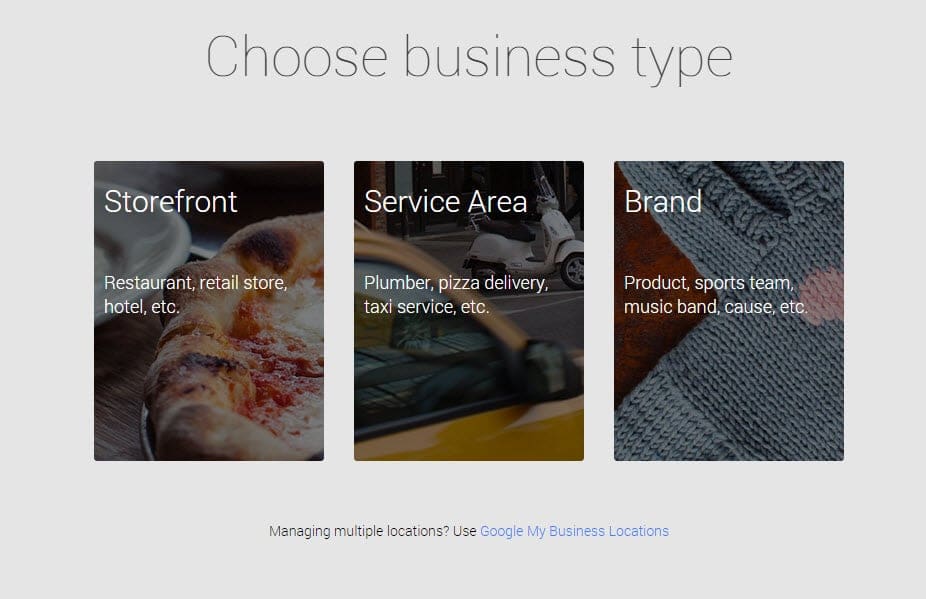
You are prompted with 3 options here. More details on the options are below;
- Storefront Business – Choose this option if you serve customers AT YOUR BUSINESS location or you want your customers to LOCATE you on Google Maps.
- Service Area – Choose this option if you serve customers AT THEIR LOCATION and you want your customers to see your service area on Google Maps.
- Brand – Brands, organizations, artists, and other groups or individuals can create Google+ pages to reach out to followers, fans, and customers on Google. Brand, organization, or artist pages don’t include address or other physical location information that appears on Google Maps.
Then you will be prompted to search for your business like below:
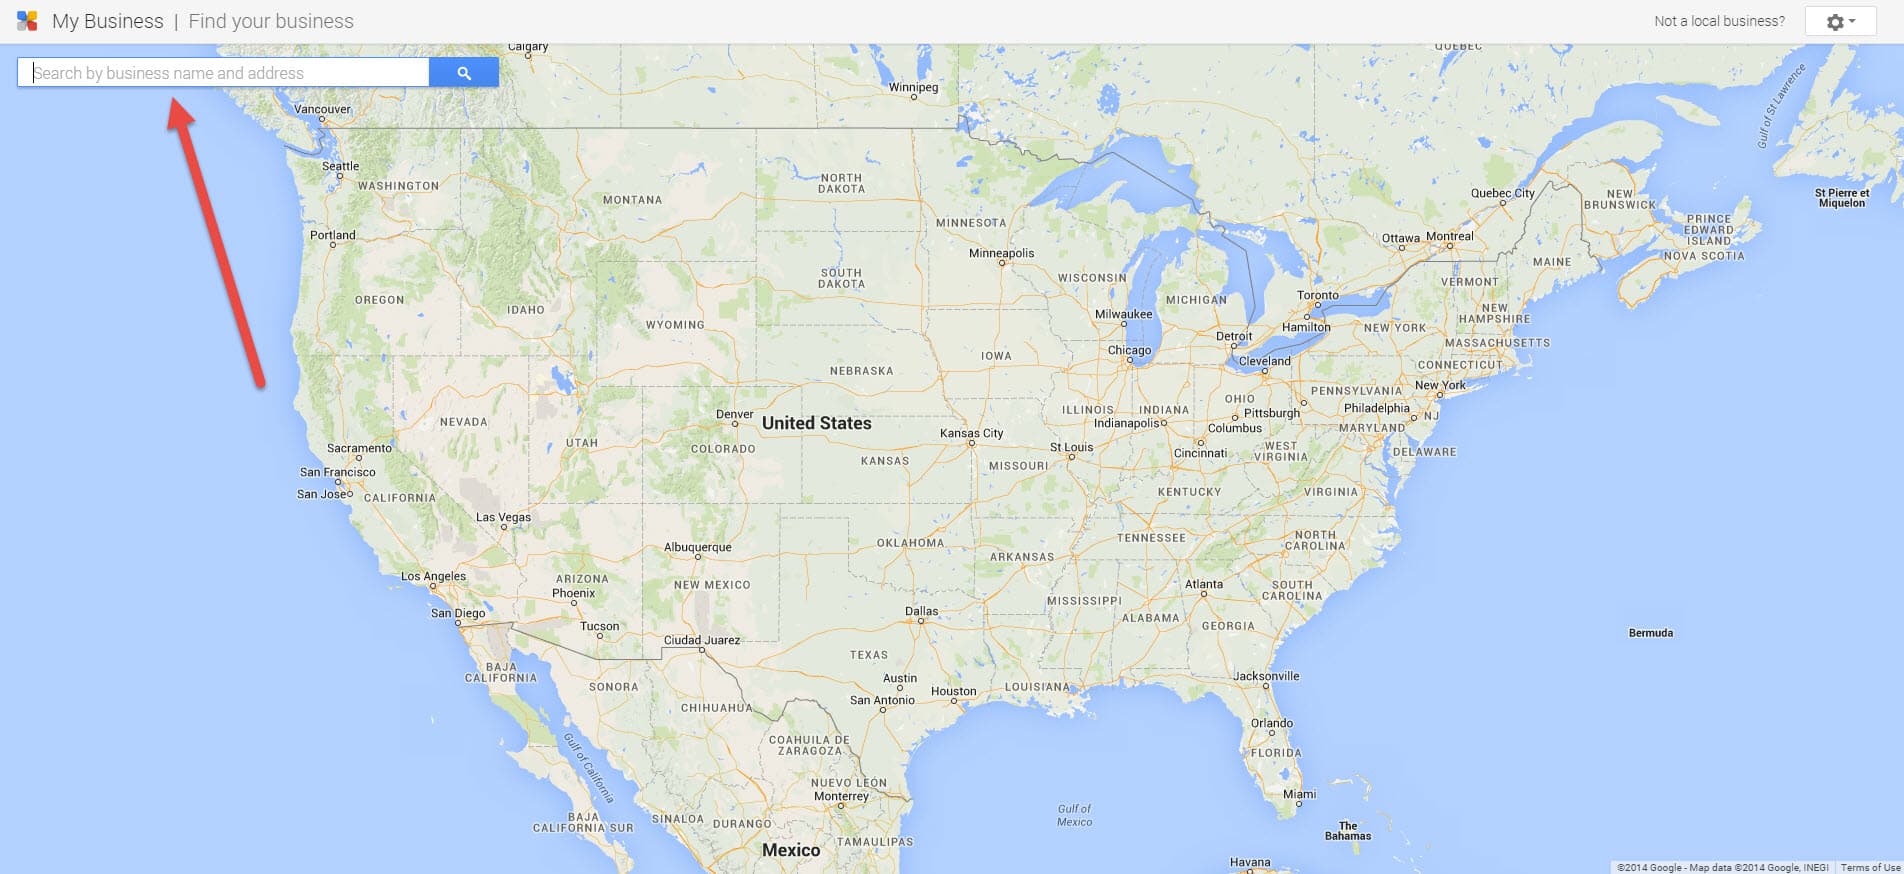
Start typing your business here and if it populates, choose the correct listing. If you don’t see your business, then choose the option at the bottom “None of these match” and manually enter your business.
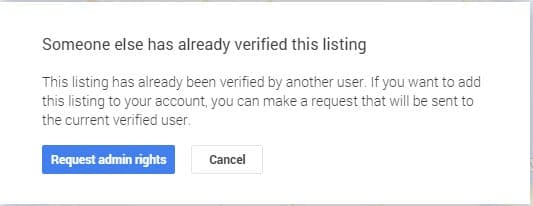
After selecting your business there will be several options that follow. If you get this one then someone has already claimed and verified the listing and you can request admin rights to it by following the link:
You may also get a notification that Google needs to create a Google+ page so you can manage your business on Google. All businesses are managed through Google + Pages now, so select you are authorized to manage the page and continue.
You will now be prompted with two options
- Call me now
- Mail me my code
Choose whichever is better for you. We recommend the calling option as it is quicker.
After you select one, you will be taken to your new Google+ Page. I recommend following the tour that pops up to guide you around your new listing.
Once you complete the verification process, you will be able to update your listing on your page, which updates Google Maps.
Now let’s continue setting it up correctly. We are done with the tour and ready to start showing off our business, right?
- Right below your business name, you can hover and change your into/tag line. Do this.
- If any of the information is wrong, don’t worry, we’ll change by clicking the “Edit” button in red. Let’s go ahead and do this to see what it looks like.
- Along the right side of the new edit screen, there are pencils. To change information in each block, click the pencil.
- Once you have made all of your edits, click “Done Editing” at the bottom.
- Now let’s add some photos. Click the Add Photos button on the top. We’ll want to add some photos of your business, what you do, having fun doing it, etc. Photos tell the story of your business and are VISIBLE in searches.
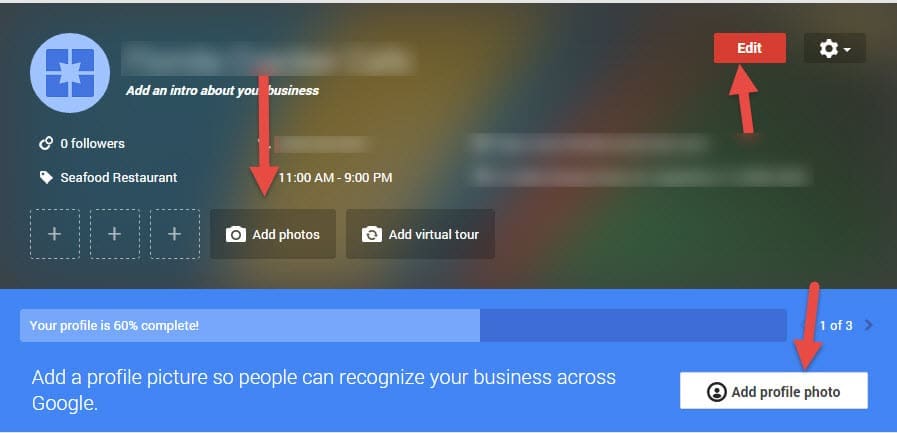
Next, let’s add a profile photo to the top. There are some great tools like canva.com to help you create your cover profile for free. If you want to do it in Photoshop or the likes — We recommend 1080 x 608 pixels. The minimum is 480 x 270 and the maximum is 2120 x 1192.
Once we have added and cropped the photo, let’s add a profile photo. This can be anything you like. We recommend something that signifies your business. Maybe your logo. This is what will show when you post on Google + and what will show on results that include the profile image. Don’t get this confused. Google uses the same terminology here as the profile pages. Don’t put your picture unless you want it associated with your business.
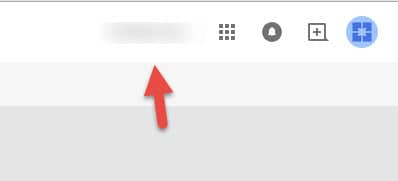
After you have completed these steps, it’s time to see what your profile looks like. Click the +yourname button at the top.
There is your beautiful masterpiece.
Some key tips. Pay attention to what this says when posting. You’ll want to ensure that at the top of your page it says +YourBusinessName. This will make sure you are posting as the business and not your personal profile.
Retain Ownership of Your Accounts
Now, we may need to add people to manage or post for us, right? As the owner of the company, you want to always retain ownership of all social accounts associated with your business.
To do this, let’s go back to the page and choose settings:
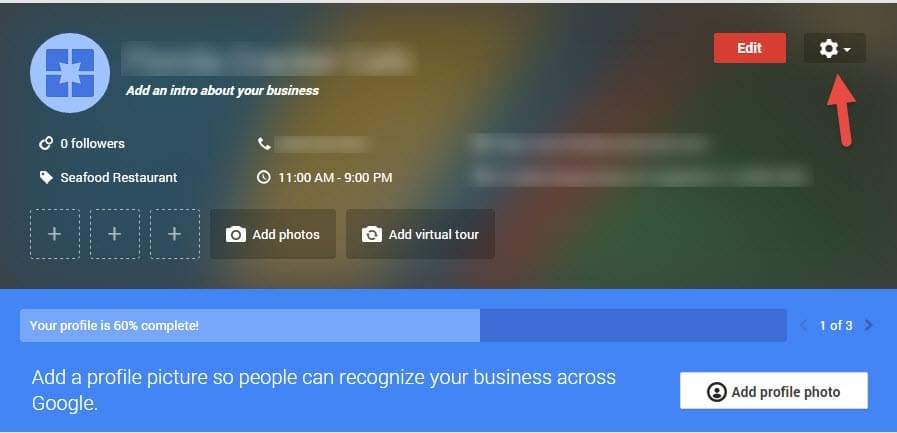
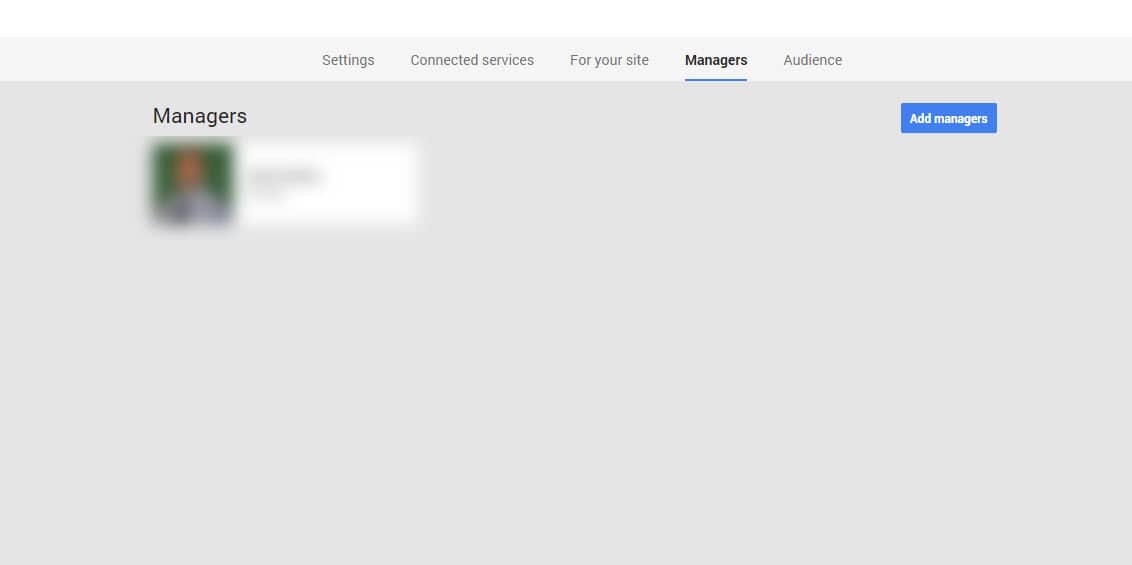
Now choose “Managers” and then “Add managers.”
Invite people to manage your page here. You can always remove them as well. For example, Joan was your social media manager for the company. Unfortunately, she doesn’t work for you anymore after posting about her binge night on the town on your company page by mistake (Don’t forget your company social media policy!). You need to remove her from having access and grant someone else. This is where you’ll do this.
Disclaimer: Google changes all the time. The general flow will most likely remain similar, however what we display today could change tomorrow with technological changes. Let is know if you need any help!